How to Use JWasm with MS Visual Studio
Here is an example for an assembly project with Visual Studio
using JWasm as assembler.
1. Make JWasm known to Visual Studio
- Visual Studio 2005/2008: To make JWasm known to VS, copy file jwasm.rules
to directory <visual_studio_root_directory>\VC\VCProjectDefaults.
(In the directory there should be a file masm.rules already.)
- Visual Studio 2010/2012: Here file jwasm.rules isn't needed. Instead there's a package
VS2010CustomBuildRule.zip, which should contain three files ( jwasm.props, jwasm.targets, jwasm.xml ).
Unpack the package and copy those files to directory /Program Files/MSBuild/.../BuildCustomizations ( the directory should
already contain appropriate files for Masm [ masm.props, masm.targets, masm.xml] ).
2. Create Project
Create a new project "Test for JWasm", select a "Win32 Console Application" and press "Ok"
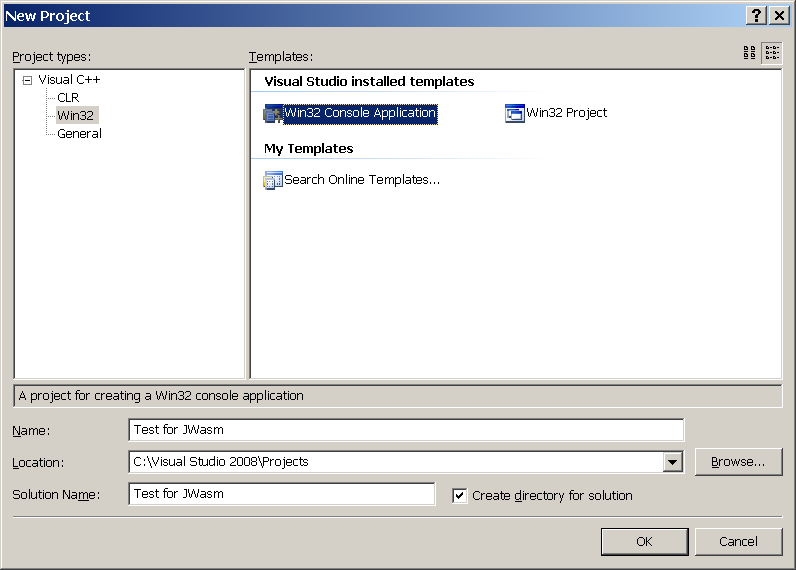
(On the next screen, just press "Finish".)
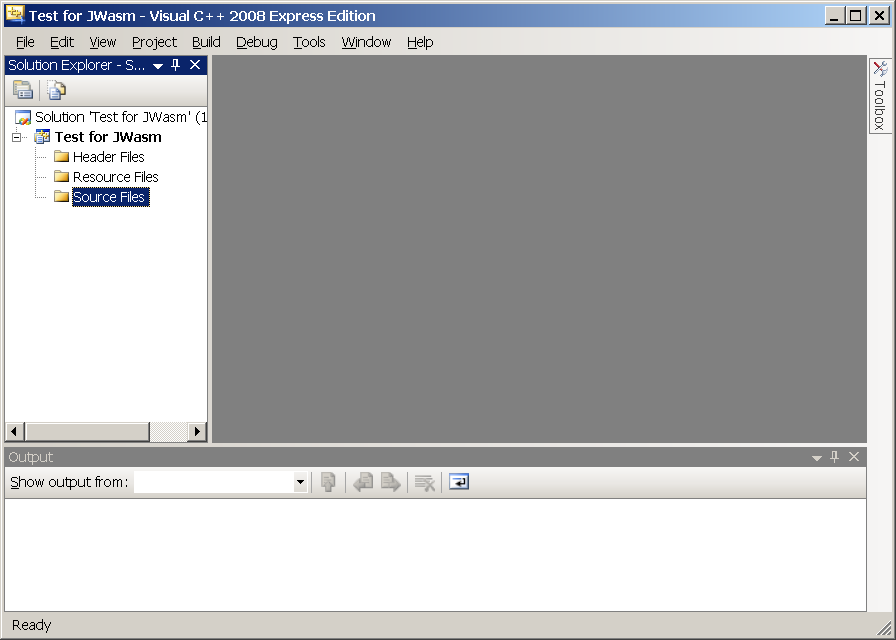
3. Remove the Files which were automatically inserted into the Project
The VS Wizard has created some files, which aren't needed for an assembly project.
So just delete them, including the readme.txt:
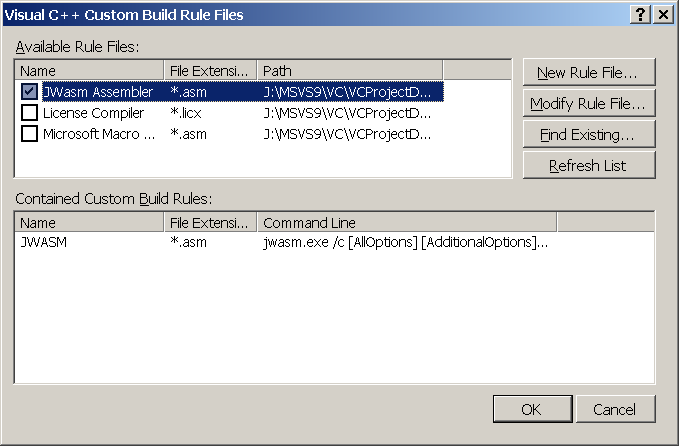
4. Select JWasm as Custom Build Rule
To add JWasm as a custom build rule right-click the project item and select
entry "Custom Build Rules...".
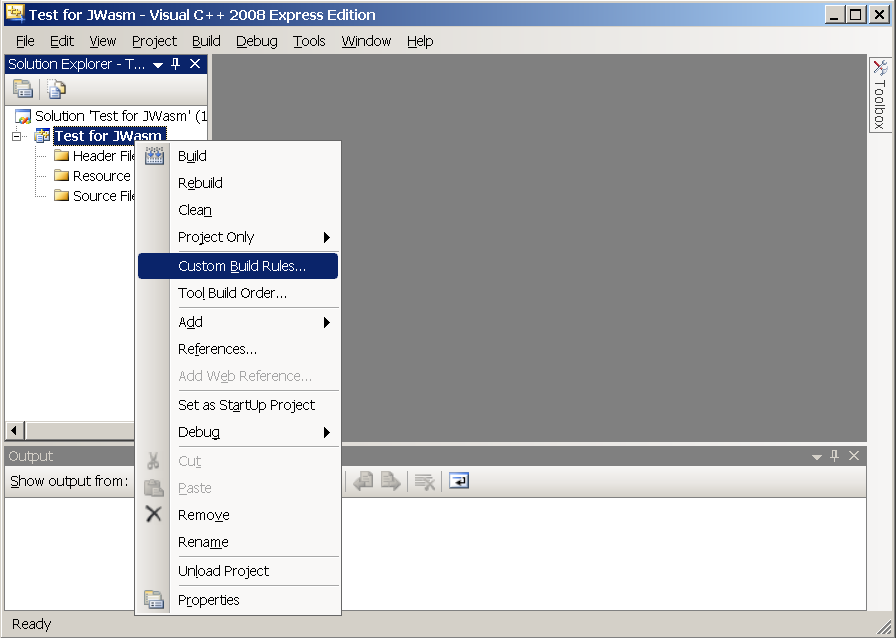
In the dialog which appears enable the JWasm entry.
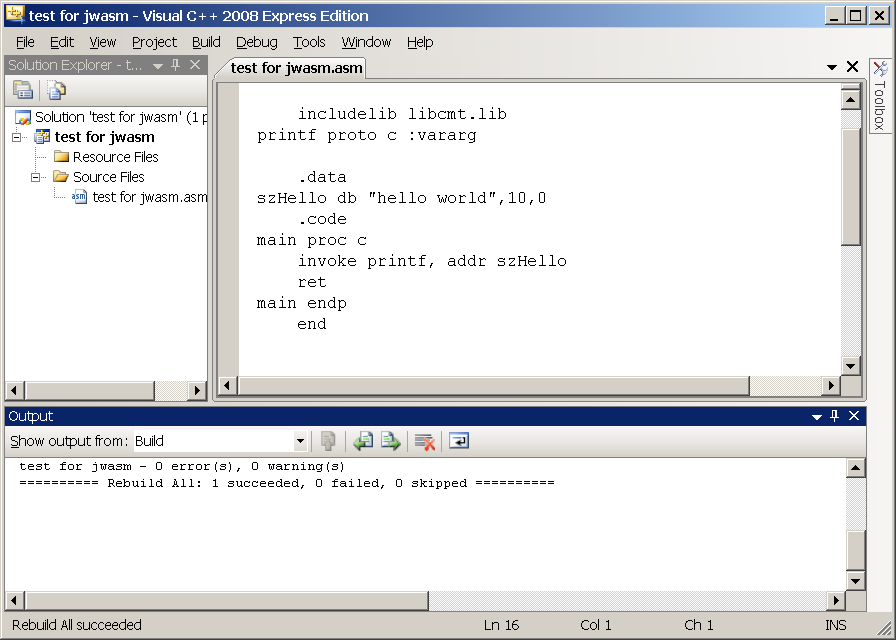
5. Add the Assembly File to the Project
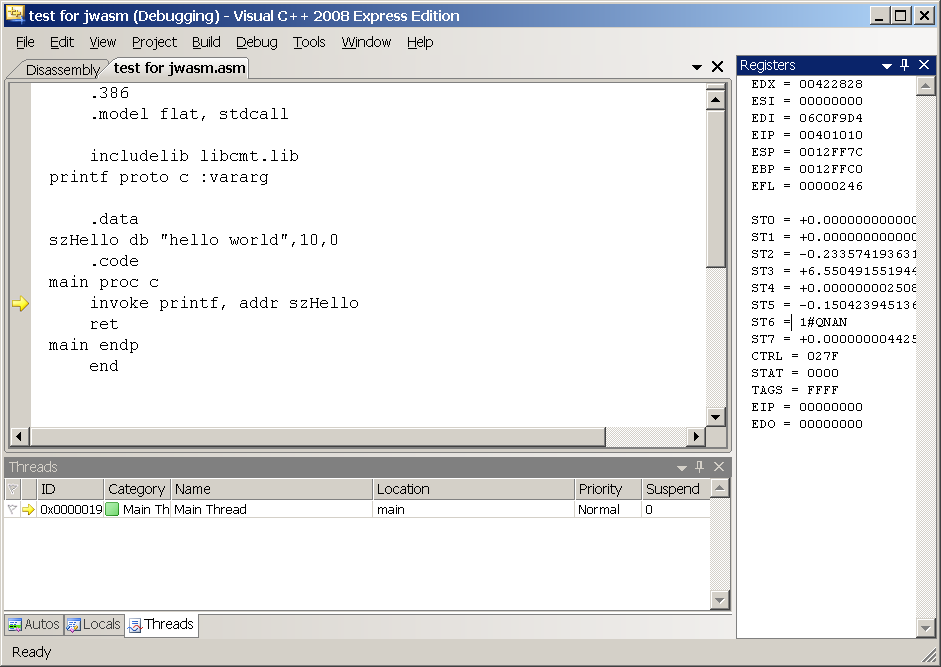
Now add a new assembly file "test for jwasm.asm" to the project. Enter the text shown below:

6. Build the Binary
Right click on the project name and select "Build".
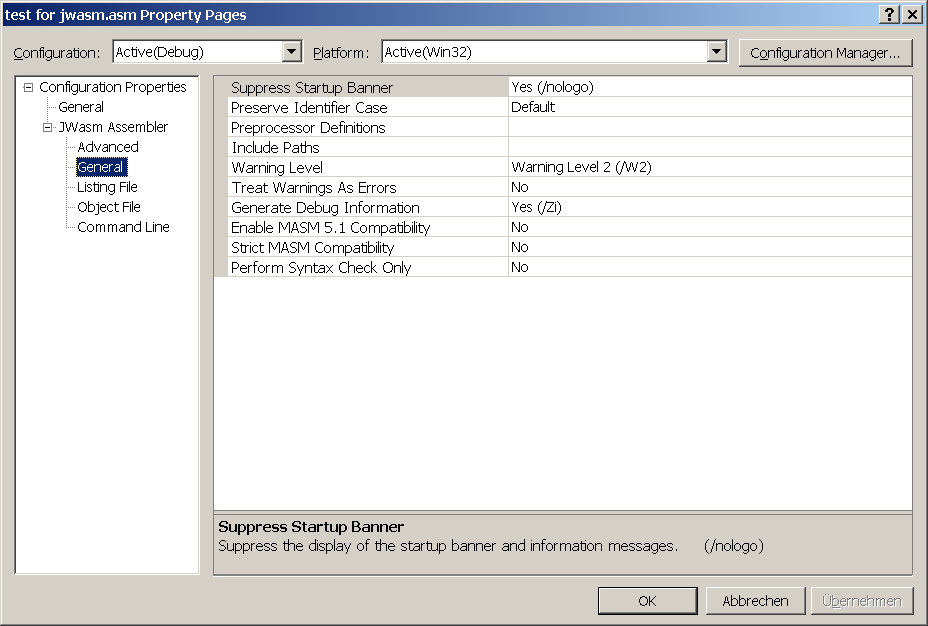
7. Modify JWasm Commandline Options
By selecting "Properties..." of file "test for jwasm.asm" one can adjust the
commandline options which are used when JWasm is invoked.

8. Debugging
Finally, source level debugging in Visual Studio: